- Published on
How to configure Next.js, Tailwind CSS starter blog.
- Authors
- Name
- Michal Gornicki


After I wrote my article on How to make your blog feature-rich with Next.js, Tailwind CSS and Vercel I realised that some beginners might have troubles with configuration.
In this article, I will explain the changes which I made when I created my new website.
This is what I changed so far:
data/siteMetadata.js
Information about the site that should be modified to meet your needs. In this file I have only changed:
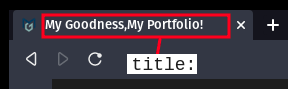
- title: - this is the title of your page, it is what you will see in the tab
- author: - put in your name
- headerTitle: - your page name

- description: - describe your website, put in something "catchy"😎

- siteUrl: - your website address
- siteRepo: - update the link to this project's repository on GitHub
- siteLogo: - if you have a logo, update it here
- image: - update the link to your picture here
- email: - update your email (I don't have the newsletter switched on yet)
- github: - showcase all of your GitHub repositories
- linkedin: - put in the link to your LinkedIn profile page
I commented out other social media links but you do whatever you think is the best for you.
data/authors/default.md
This is your "About" page so it is important to change it.

data/projectsData.js
Styled cards are generated using data from the projectsData file.

components/comments/Giscus.js
Before you can activate the comments system on your website, you need to generate a script with your specific information.
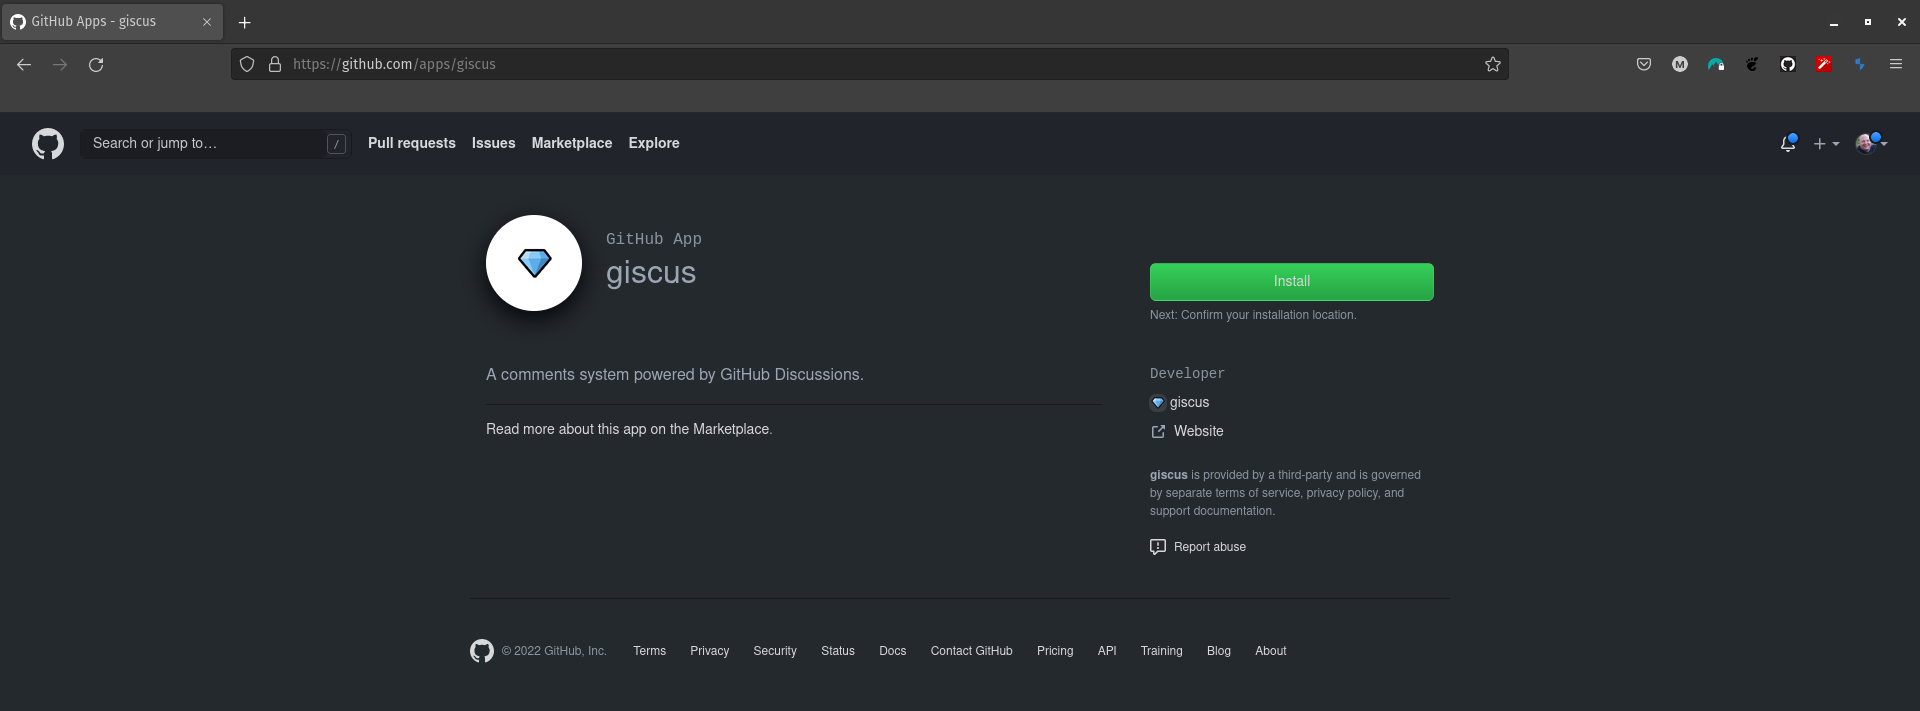
1️⃣ Go to the giscus website then click on giscus app.

You should see this 👇
2️⃣ Click Install then select Only select repositories and pick your project repo.
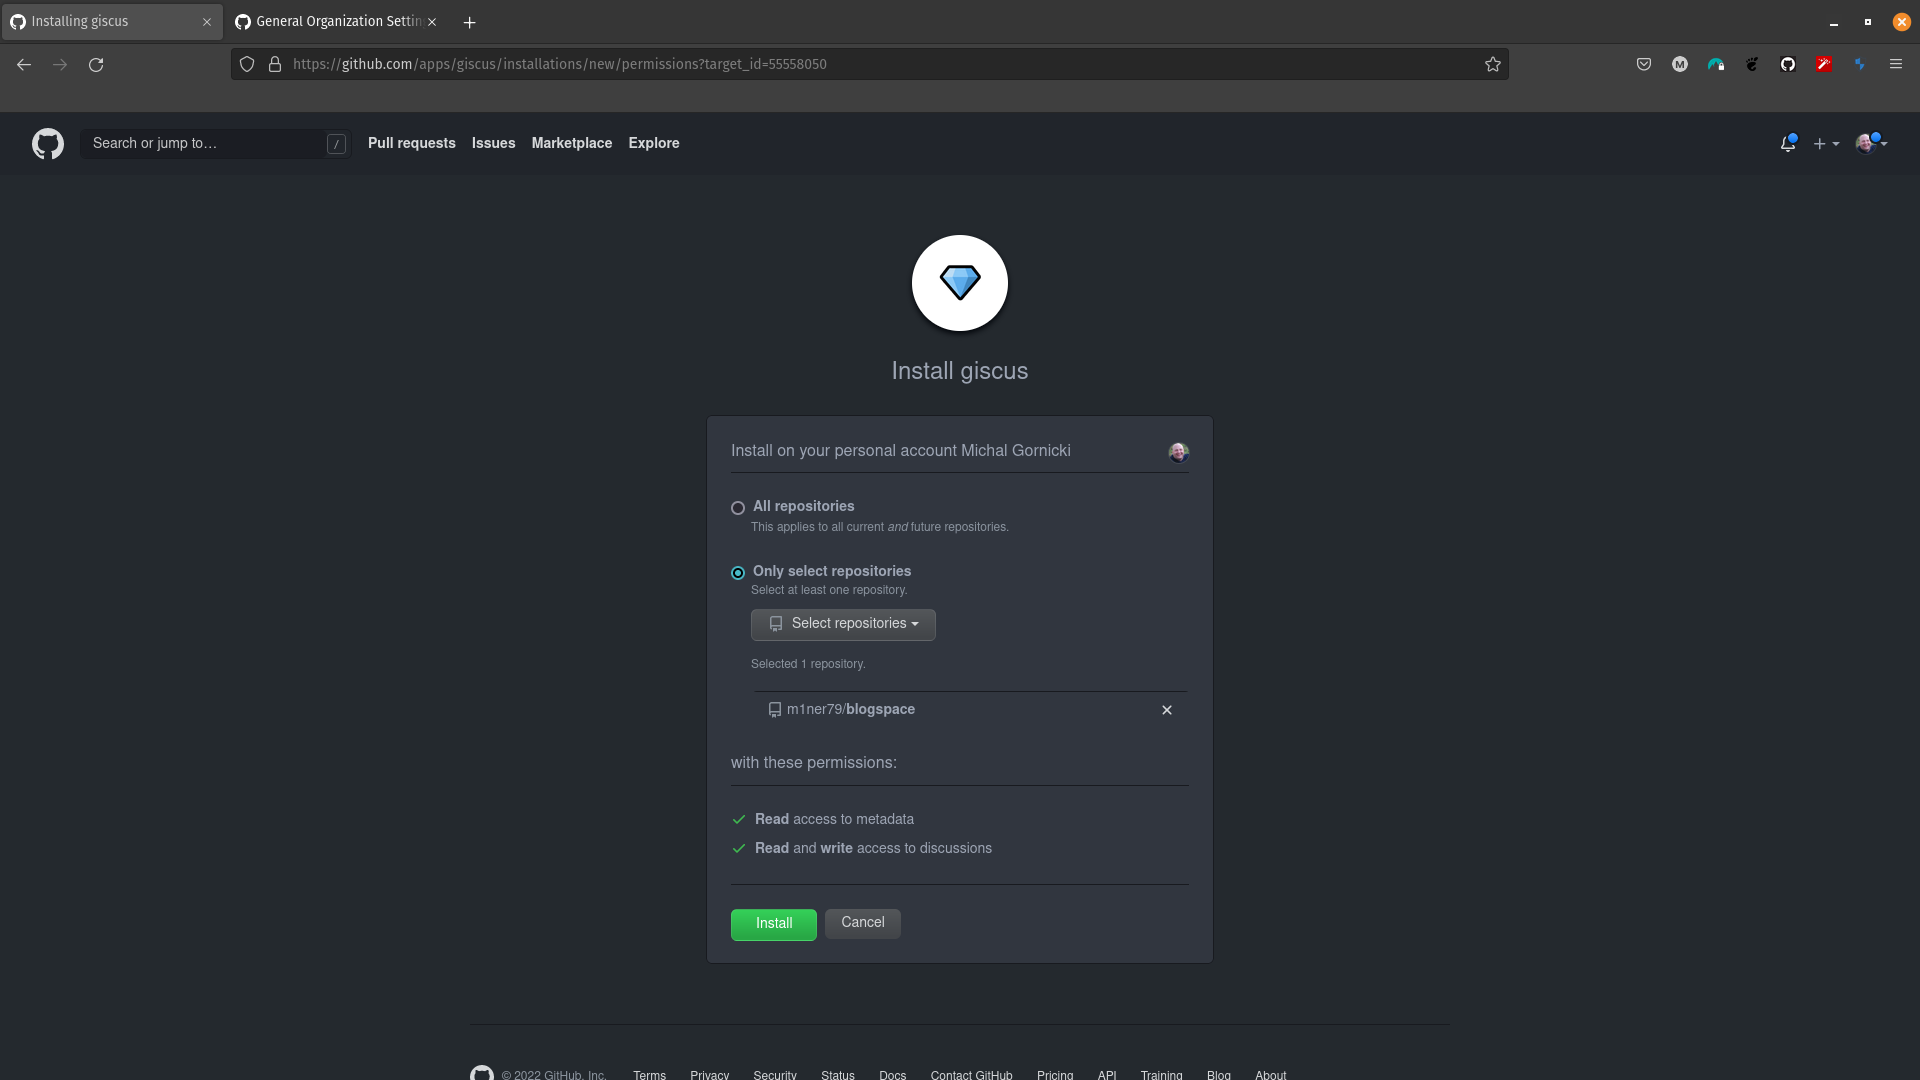
3️⃣ Again, click Install. This should add giscus to your account.
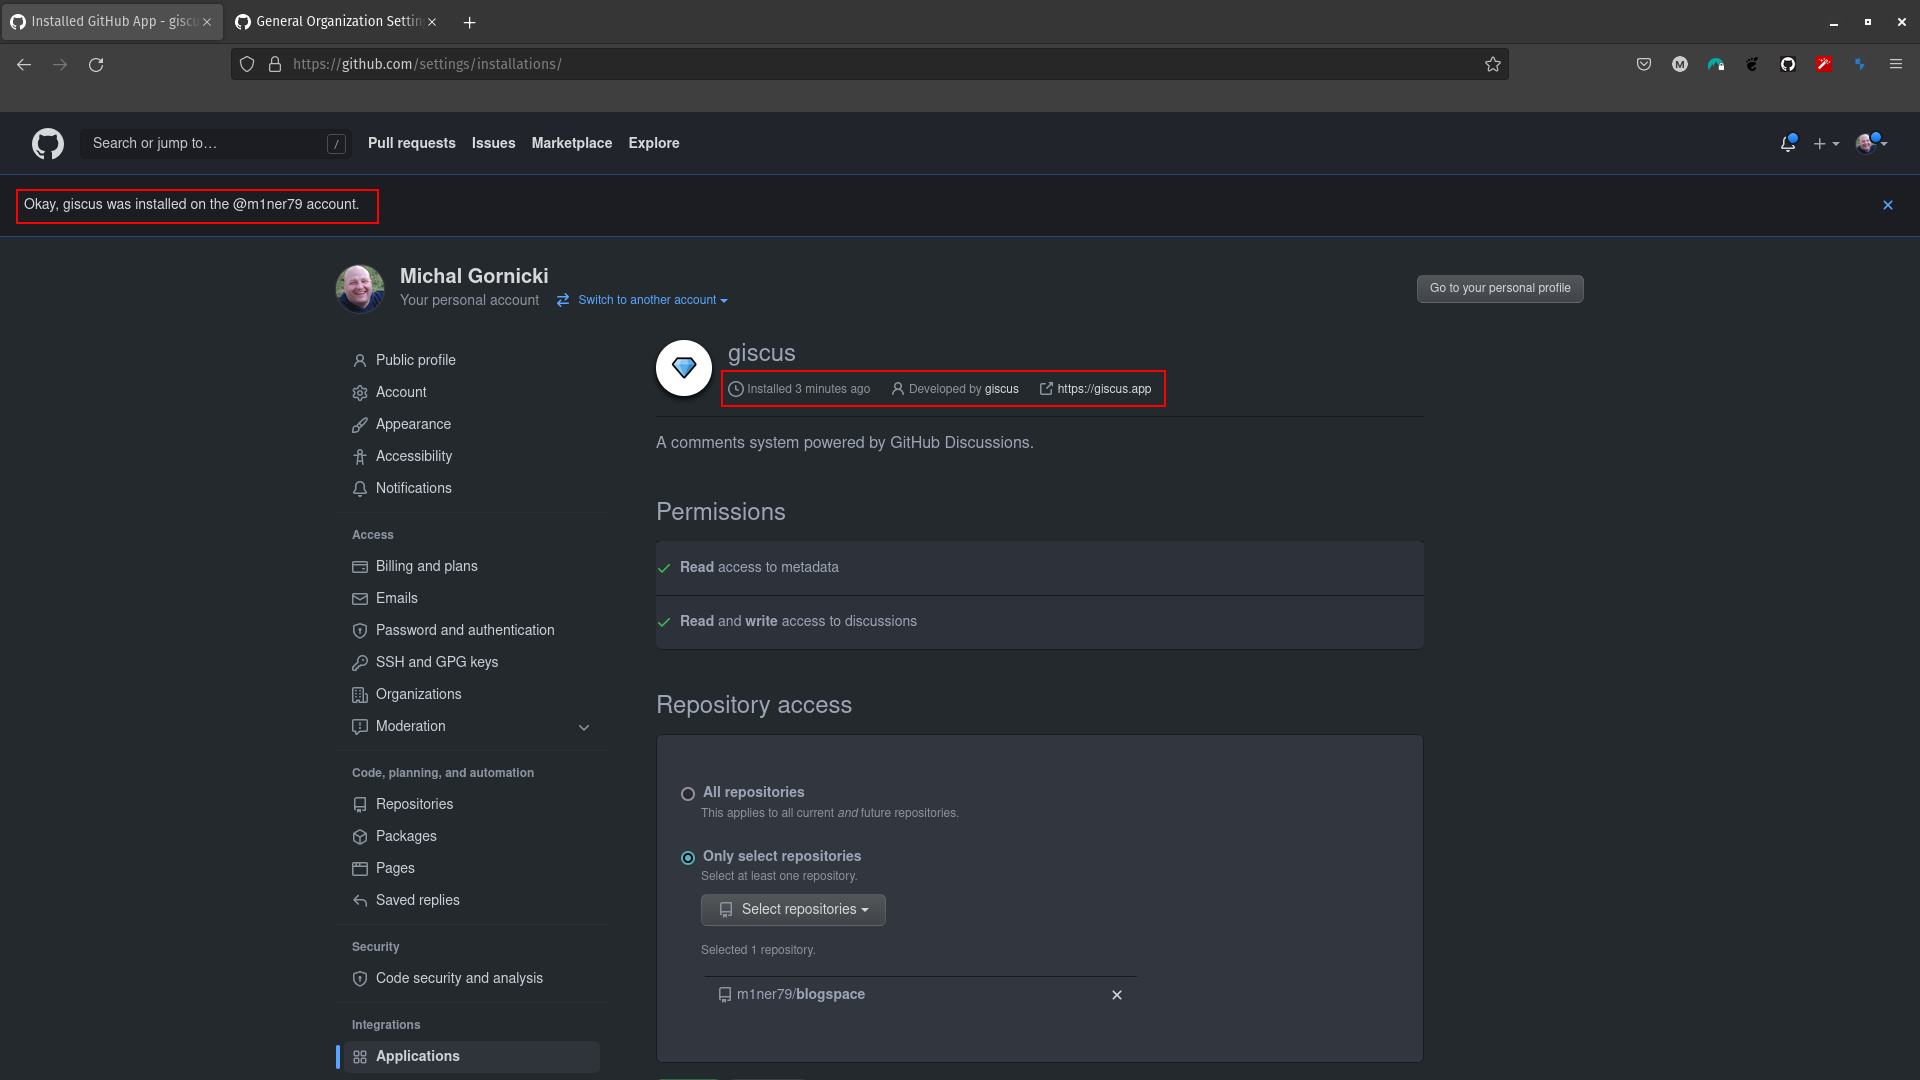
4️⃣ Now you need to activate discussions. Go to Settings in your repository.

Scroll to Features and tick the box for Discussions.

5️⃣ Go back to https://giscus.app/ and scroll to Configuration. Here are some things you need to do:
Choose the language giscus will be displayed in.
Test if your repository meets all three highlighted criteria ( I would recommend to type in the details of your repository because Copy/Paste creates an error).
In Page ↔️ Discussions Mapping I selected Discussion title contains page URL but you select whatever you think is the best option for you.
In Discussion Category select from the drop-down menu a category where the new discussions will be created. If you want your own custom category then you need to:
- Go back to your project repository and click on Dicussions and then the pen icon.
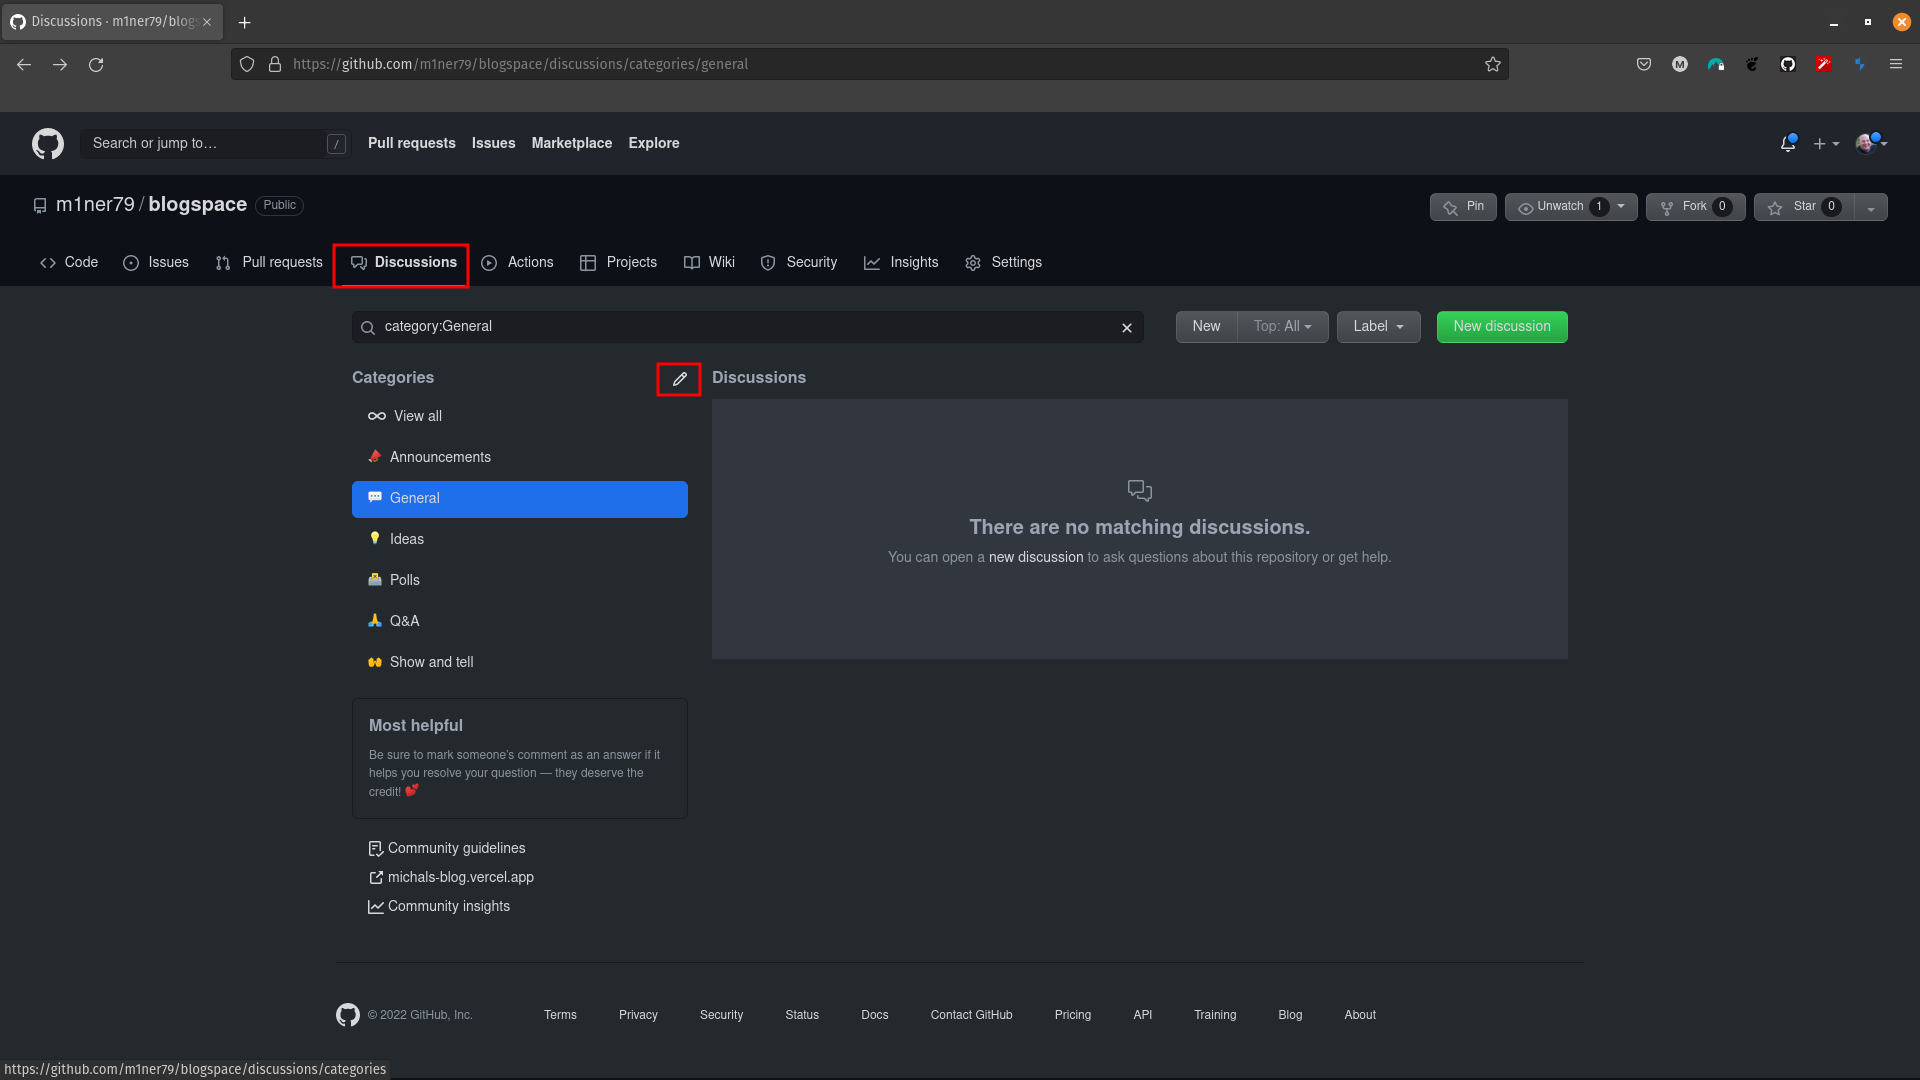
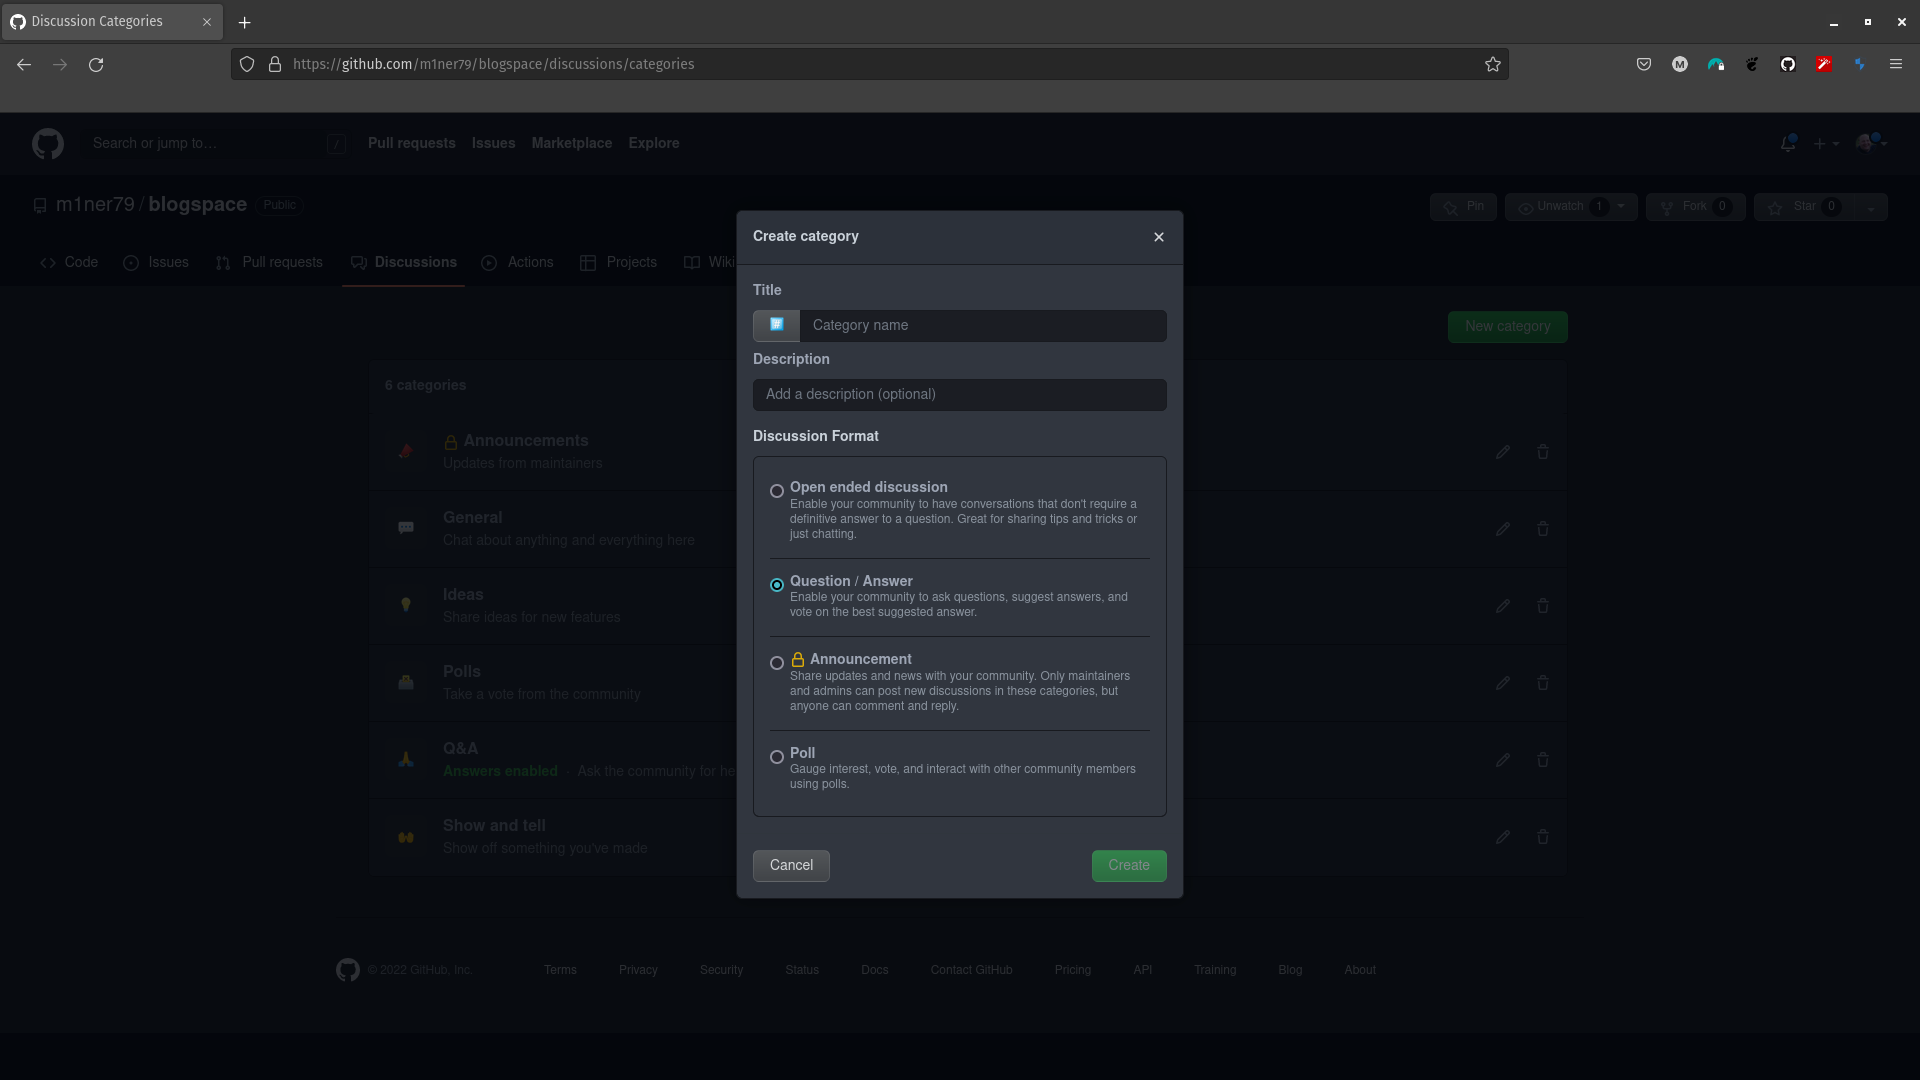
- Now you should be able to add your custom category name, select discussion format and then click Create.
- Go back to giscus main page, scroll to Discussion Category and your custom category should be there for you to select.
- I did not change anything in section Features and Theme.
- In Enable giscus you can see there was a script generated.
6️⃣ Now, go to your project folder, open your favourite editor and go to components/comments/Giscus.js.
7️⃣ Update all the data in that file (mine starts on line 33) with the data from the generated script.

8️⃣ Now, save that file, push it to your repository and voila - you have comments on your website.
data/blog
- title: - here goes the name of your post, it is required.
- date: - it is self-explanatory, also required.
- tags:- this is a required field. If you don't want to use tags then you can leave it as an empty array, like this 👉
['']) - draft: - this is an optional but handy feature. Let's say that you are in the middle of writing a post but you don't want it to appear on your website. All you need to do is to type in
draft: trueand this post will remain invisible. Type infalseif you want the blog to be visible. - summary: - another optional feature. You will use it to give brief information on what is the blog about.
public/static
Here you will store your images and favicons.
If you already have a logo but don't have the favicons, here is what I did.
First, I removed background from my logo.
Next, I used the updated logo to generate favicons.
Now all you need to do is to replace existing favicons with your design.